AR Project - The journey and progress.
In this piece, we will review and reflect upon the progress made over the past weeks. We will delve into the process of creating each working element and explain the core functionality behind the scenes. This blogpost aims to provide valuable insights and a clear understanding of how our application comes to life.
The modelling and 3D Assets [Marty + Adrian + Marian]
We had access to “Roman Low poly” 3D asset collection (Thanks to Adrian) and therefore decided to use it for our modelling purposes.
The models that team created includes:
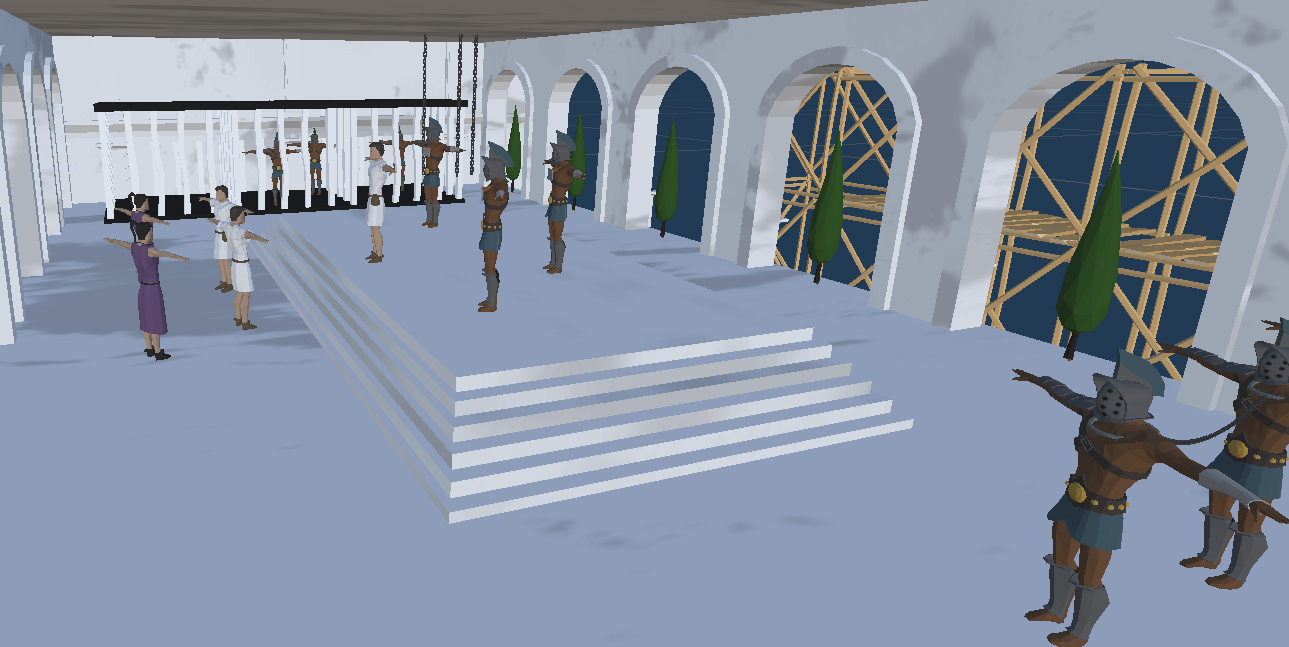
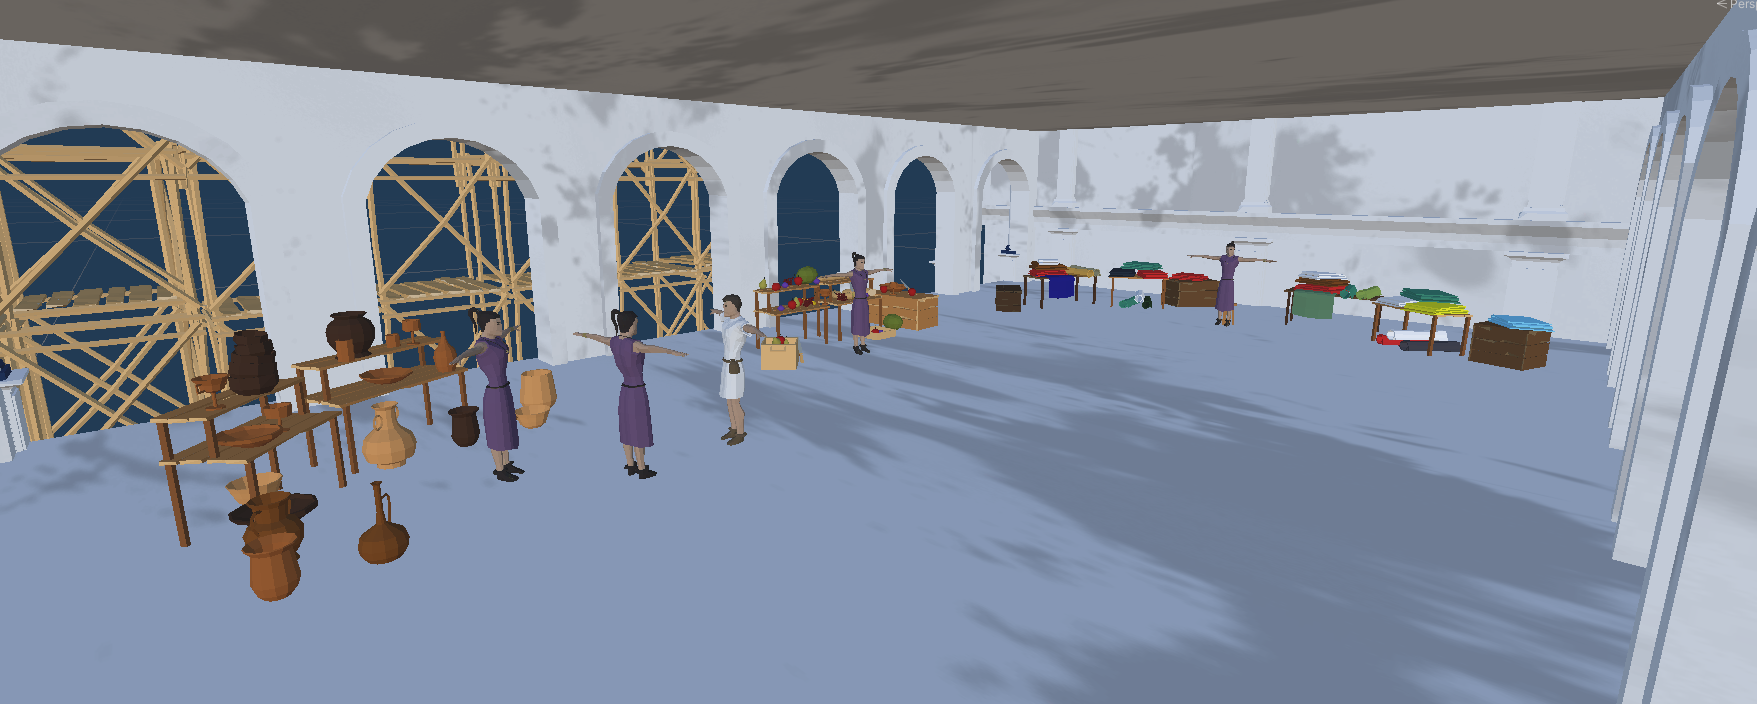
Roman forum (market)
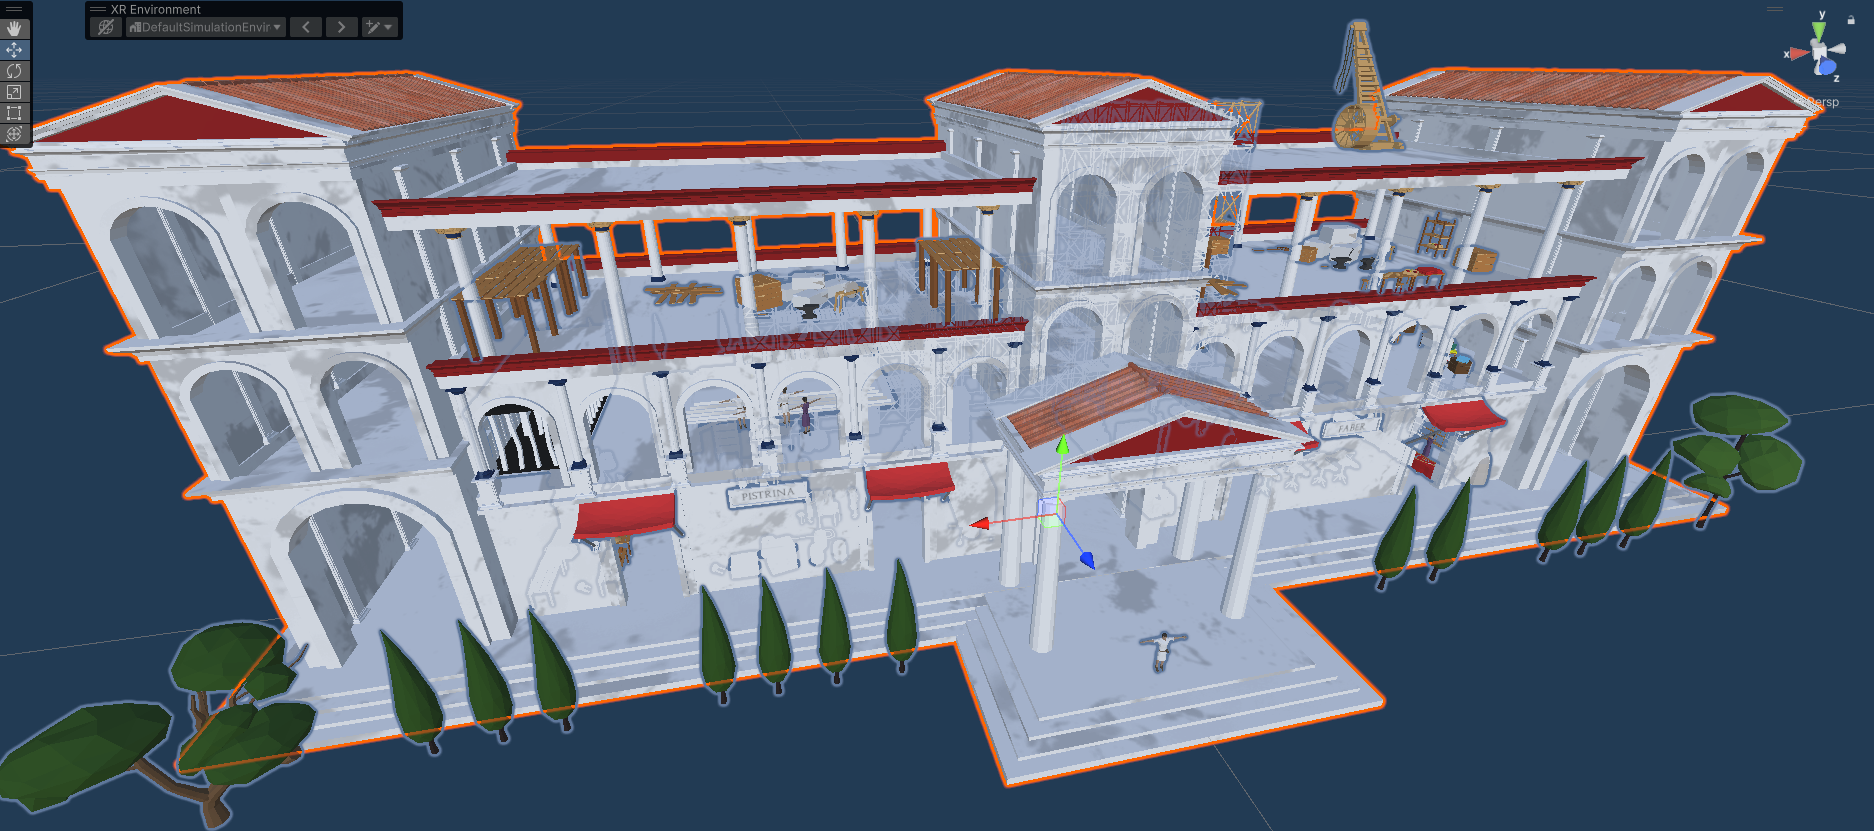
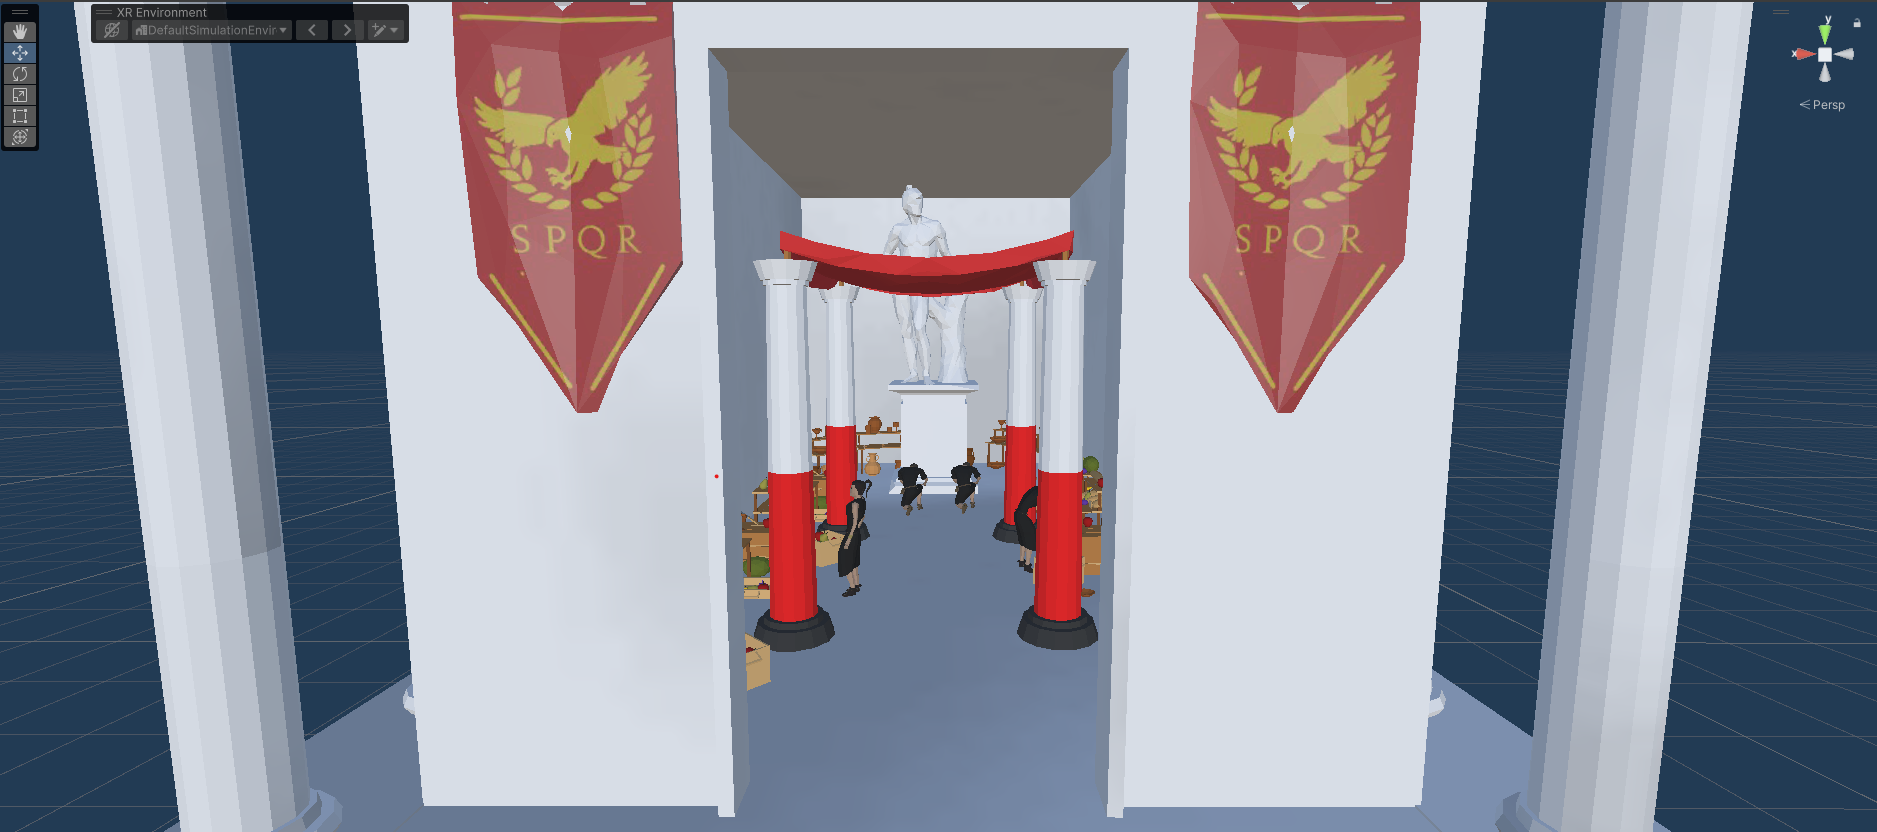
Roman temple
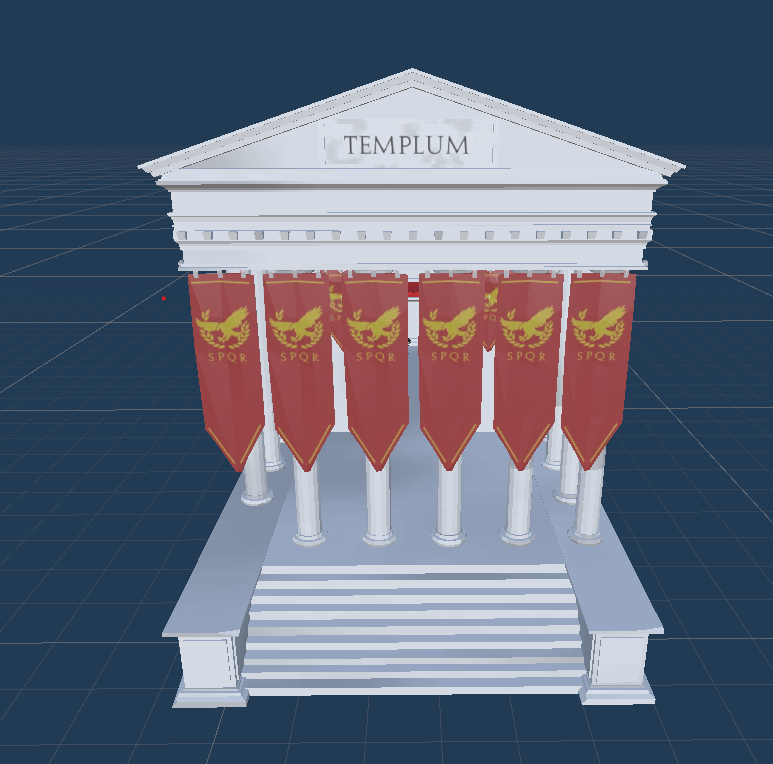
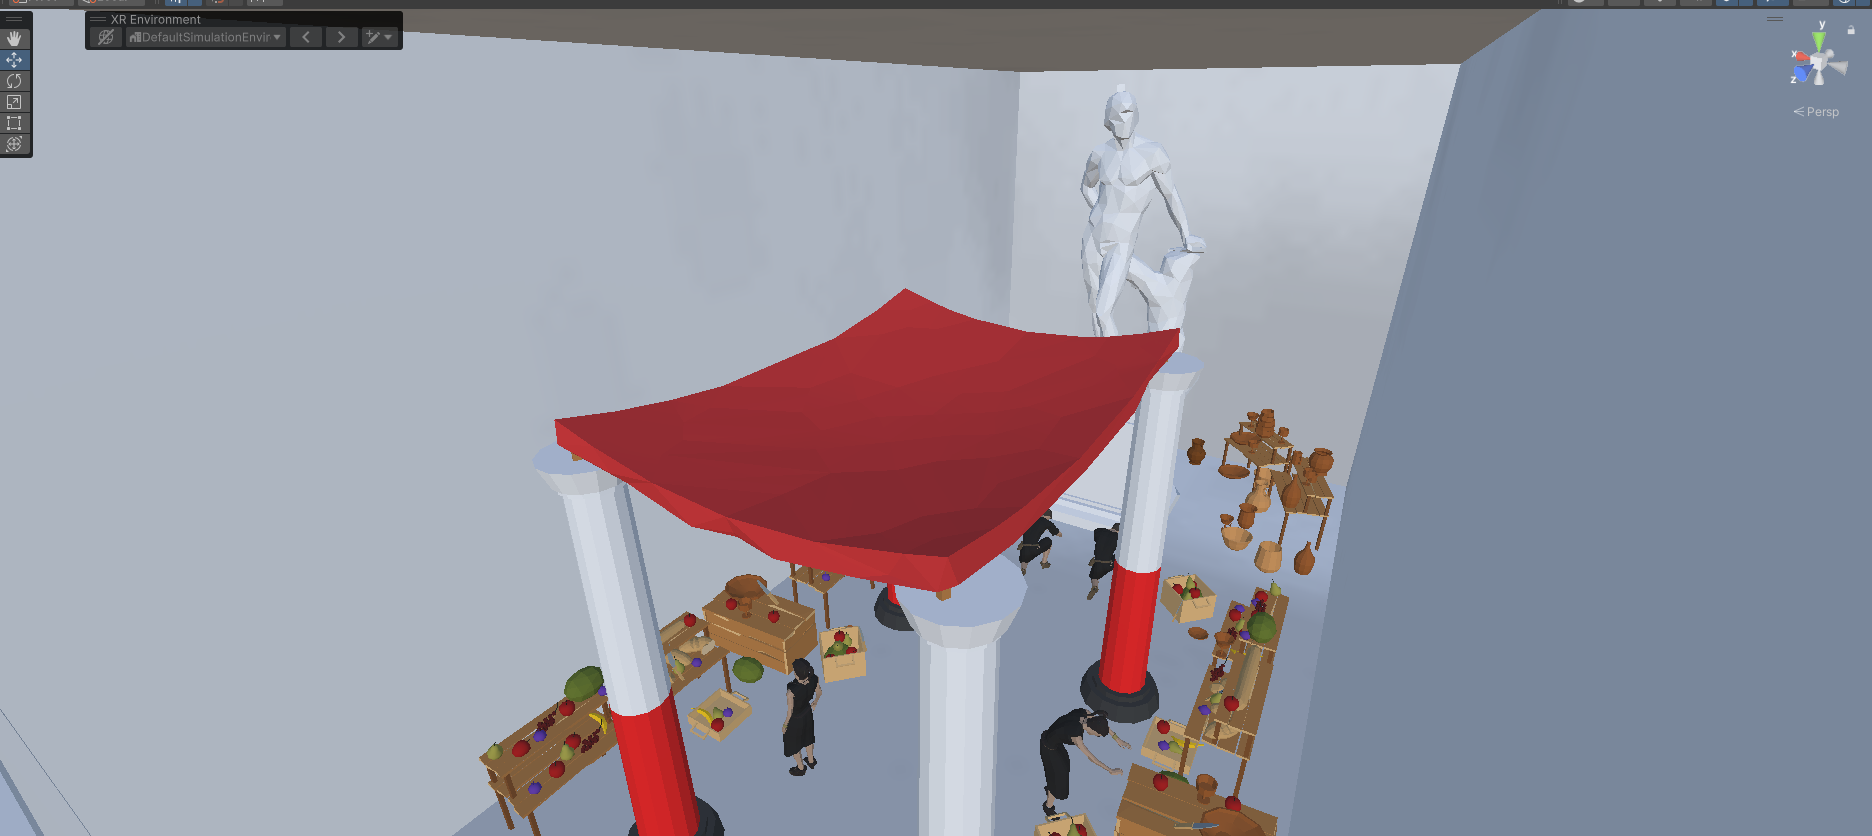
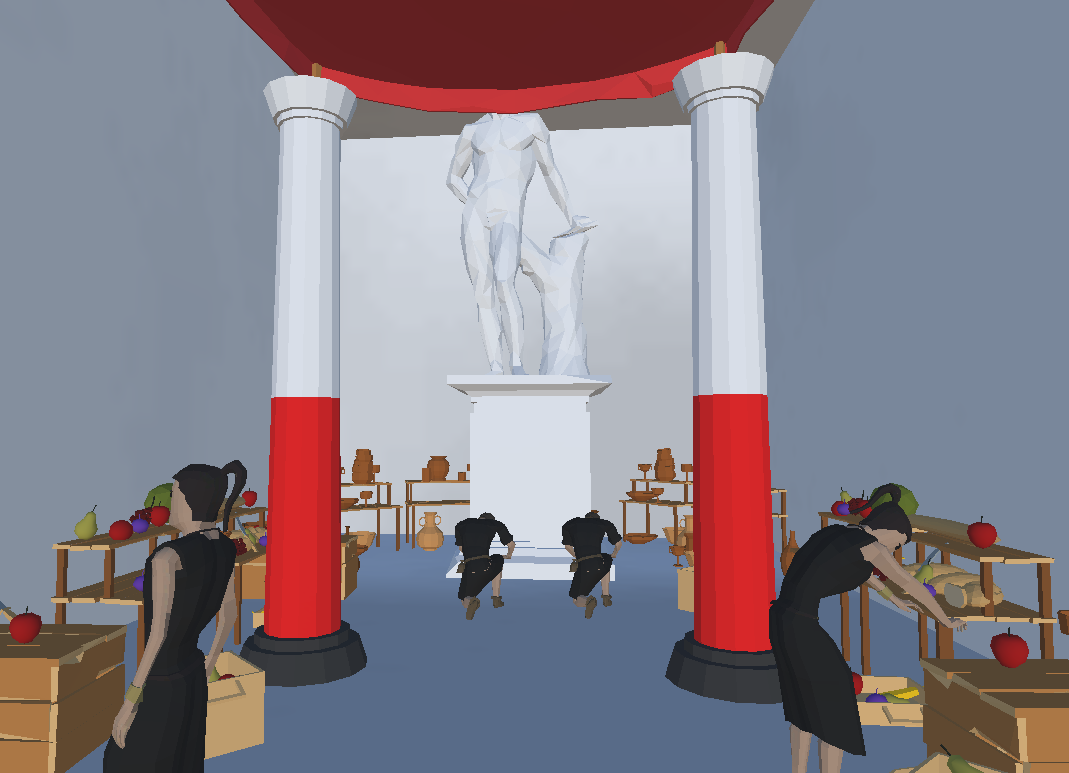
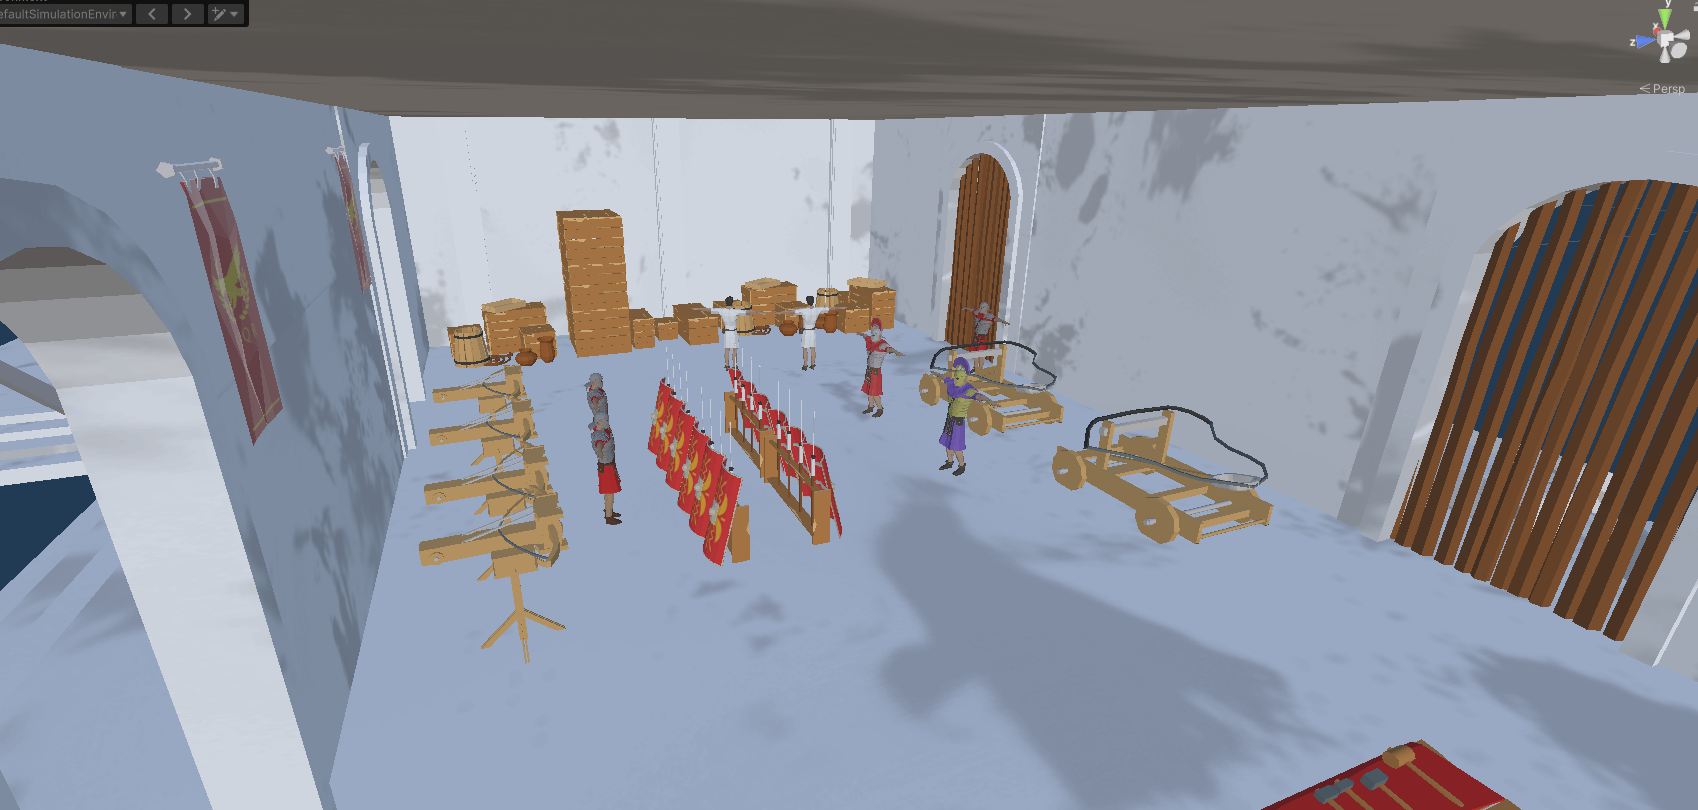
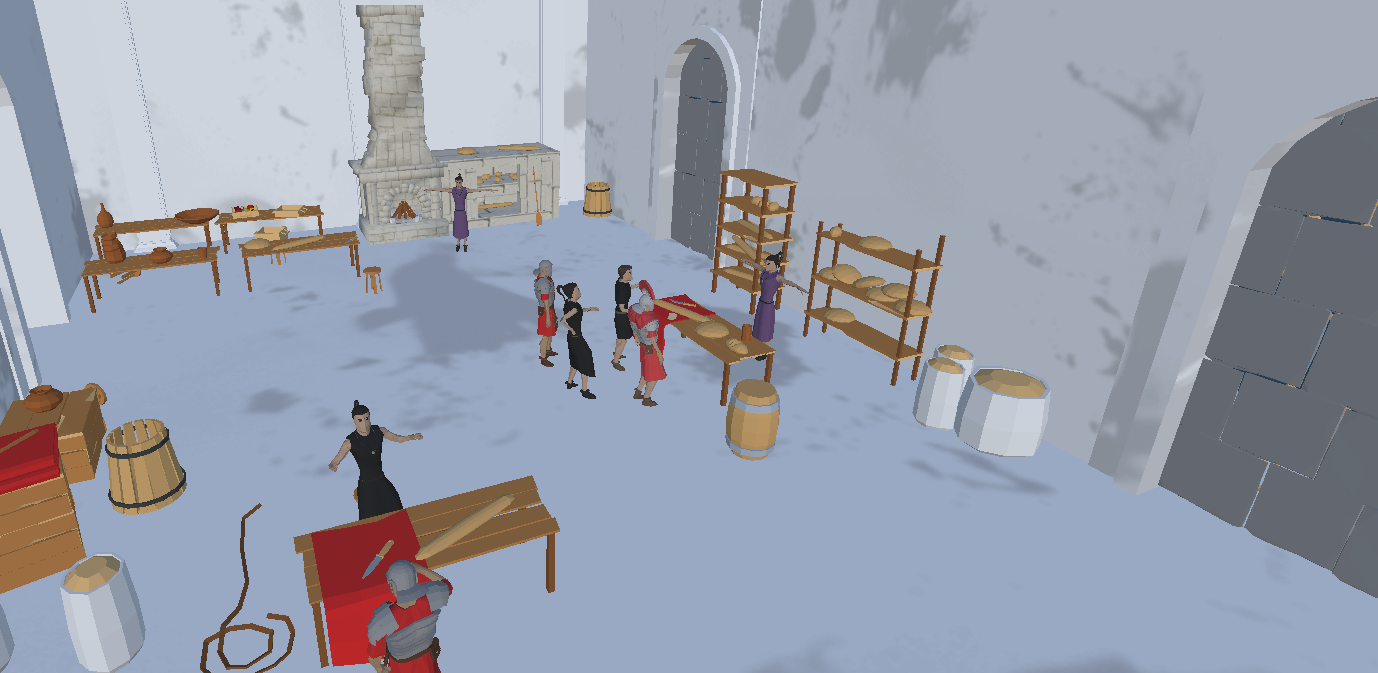
The modelling process was purely just working with unity and our imagination; therefore, it looked something like this: (see gif below)
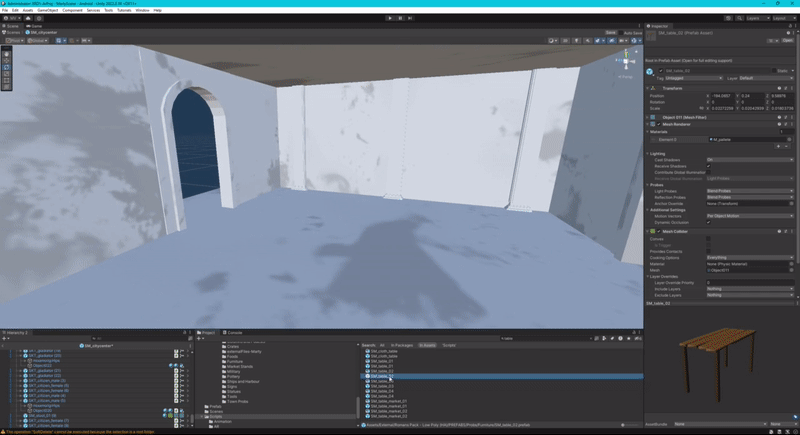
This is an example of the modelling process which we went through. This process alone took us a significant part of our time. From completely empty forum (marketplace) rooms we transitioned into this: (see gif below)
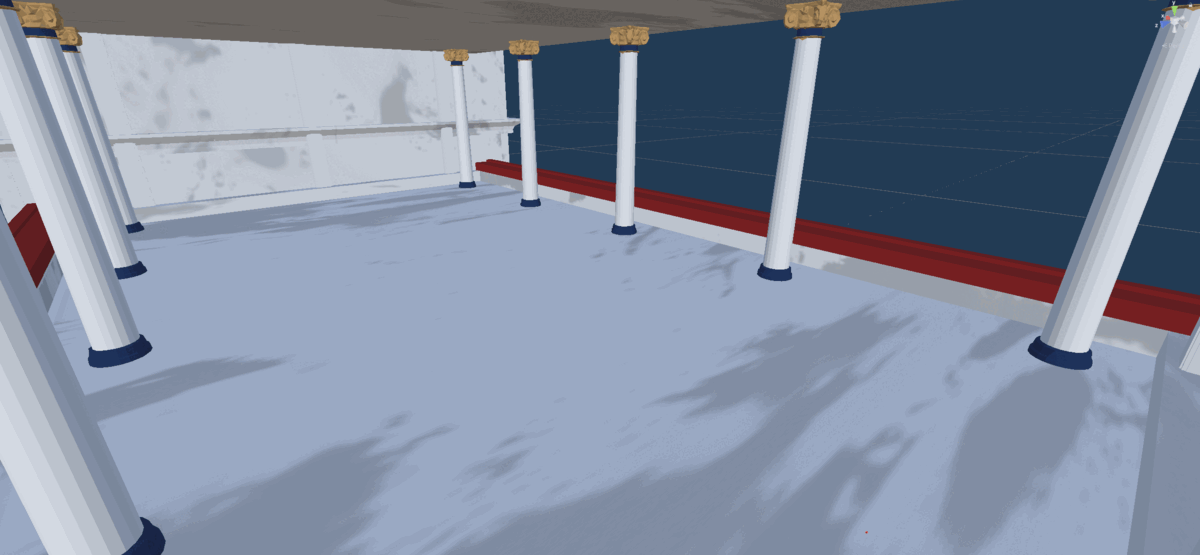
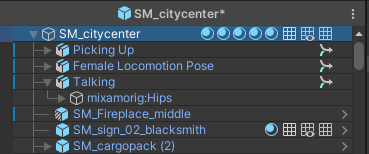
All additional prefabs have been imported to “SM_citycenter” model, which will be used as one of our main Virtual objects.
AR Image tracking [Marty]
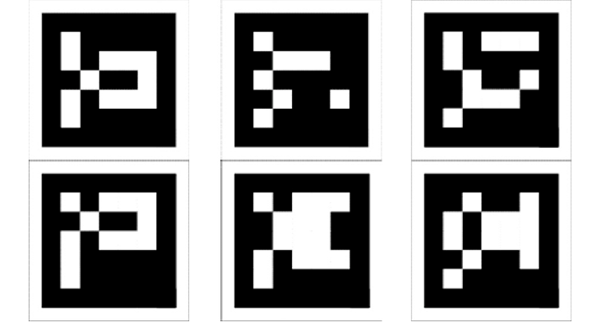
As trackable 2D images, we decided to use AR markers (see picture below), because they were specifically designed for AR recognition, and for our use case it proved to work a bit better than a regular picture. AR Marker offers more reliable tracking and is less affected by lighting conditions.
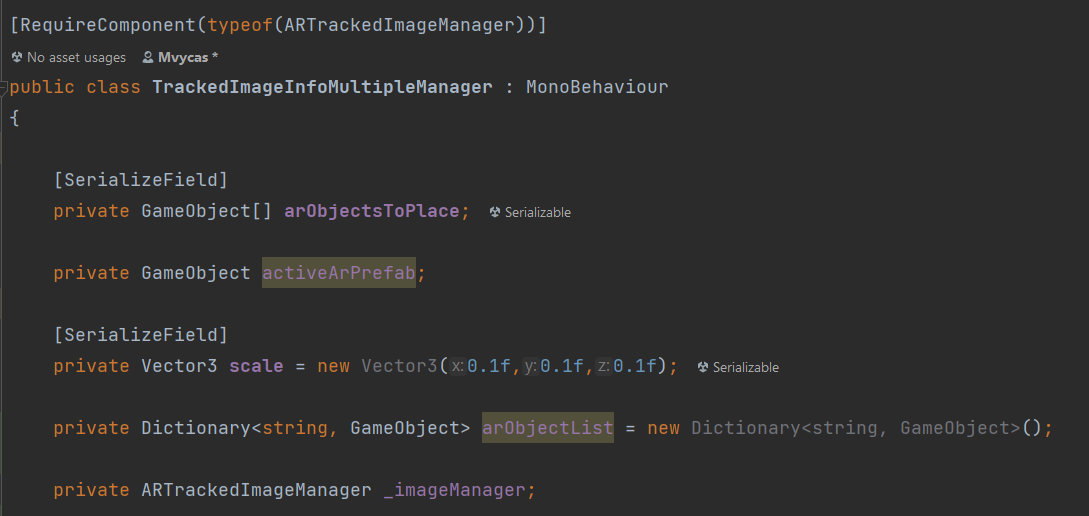
For the application to be able to recognize multiple 2D images and manage multiple prefabs, a “TrackedImageInfoMultipleManager” script was used in connection with Unity’s AR Tracked Image manager. “RequireComponent(typeof(ARTrackedImageManager))” indicates that the game object which uses this script, must have “ARTrackedImageManager”. (See image below)
arObjectsToPlace array – is an array of our 3D assets that are going to be used. We serialize this field so we can easily access it (edit) from Unity editor.
activeArPrefab – a variable that stores currently active 3D object.
Scale – a three-dimensional vector object that stores floating point values and is used for scaling our 3D objects respectively.
arObjectList – a data structure that stores key-value pairs based on a string. (In this context)
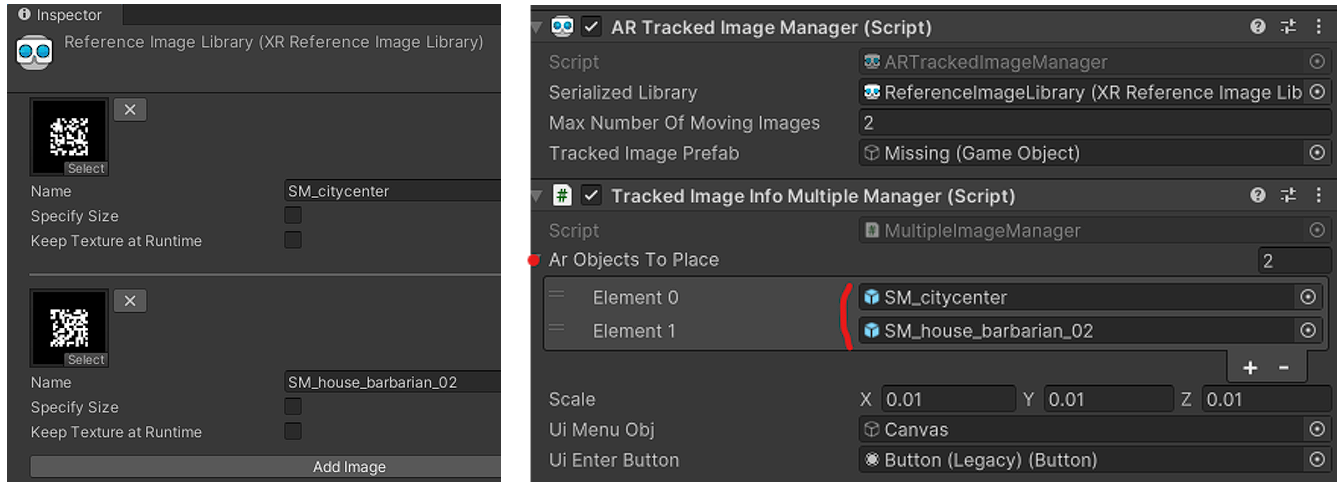
In referenceImageLibrary we added specific images with a string name, that corresponds to the exact name of a 3D model which is added to the arObjectsToPlace array. (See Images below)
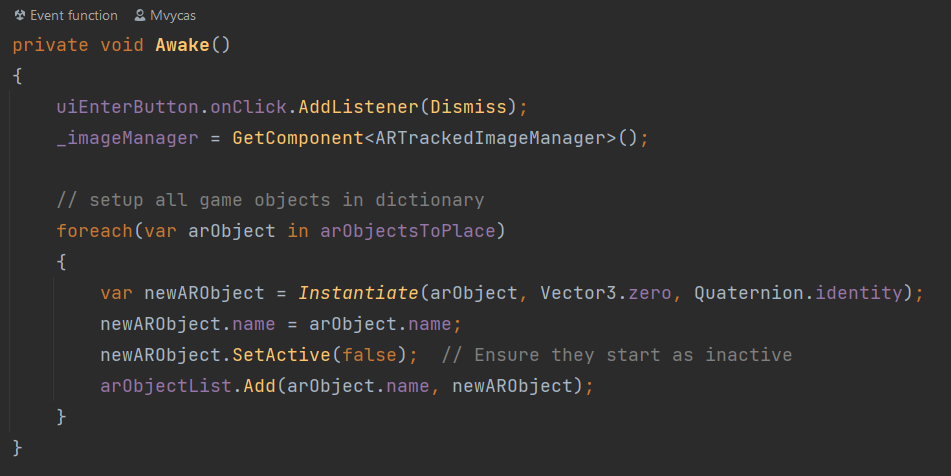
Going further, the awake method does few things for us, from which the most important are:
GetComponent
() – this gets ARTrackedImageManager which is responsible for recognizing and managing tracked images and assigns it to the _imageManager Variable. foreach loop – iterates through the arObjectsToPlace array, to which we manually assign our 3D objects, and instantiates each object at position zero “Vector3.zero”. (xyz axes), with no rotation “Quaternion.identity”. After that we set their state as inactive, so we would not actually see them all when we launch the application. Finally, we add each 3D object to dictionary with object name as a key value pair. This is why the name of the image that is being tracked and the 3D object must be the same.
Moving further, we have an event subscription. This is done inside OnEnable() – Special callback that gets called when the script is initialized and made active. (See Image below)
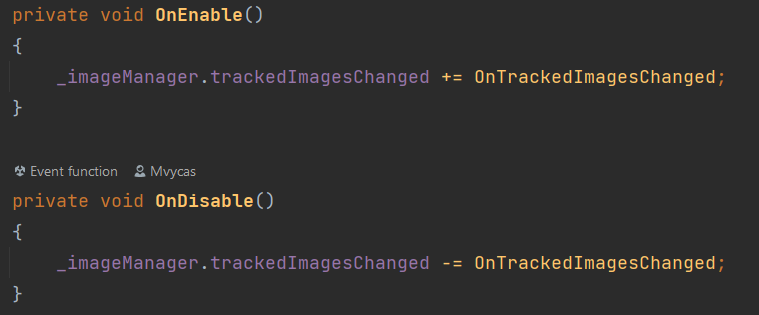
.trackedImagesChanged is an event provided by “ARTrackedImageManager”. OnTrackedImagesChanged is our event handler that we bind to this event, so eventually it will be executed whenever the change is detected in the tracked 2D image in AR session. Of course, we unsubscribe it using OnDisable() callback, to avoid memory leaks and unexpected behavior.
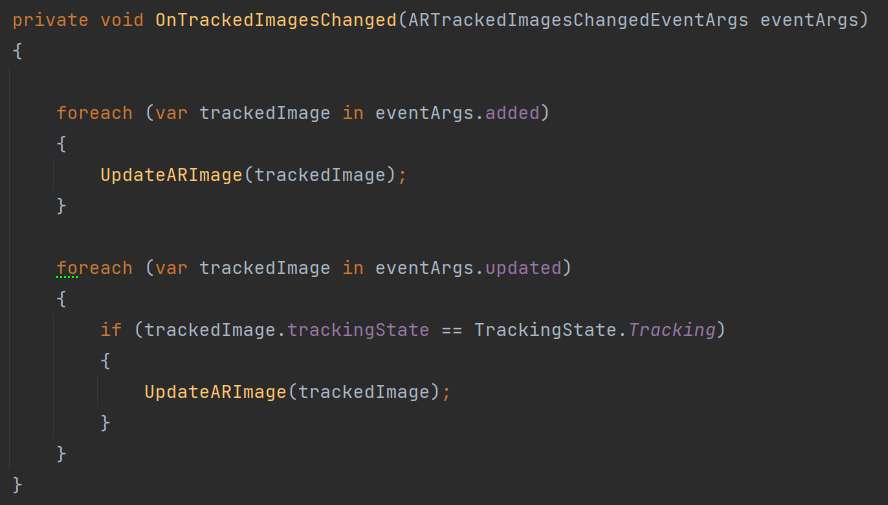
The event handler has two loops inside. (See image below) The first one is responsible for handling all images recognized by the camera from the predefined ReferenceImageLibrary. The second loop is for images that have been detected already, but their state has changed. Eventually in this case it makes sure that the prefab position will be updated if there are changes in the real world, as example, the marker (trackable 2D image) position has shifted.
UpdateARImage takes a single parameter, trackedImage, which represents a reference to a specific instance of a tracked image. (See Image below)
With the name of the detected image and the position where the image was detected in the AR session, the UpdateArImage method calls the AssignGameObject method. (See Image below)
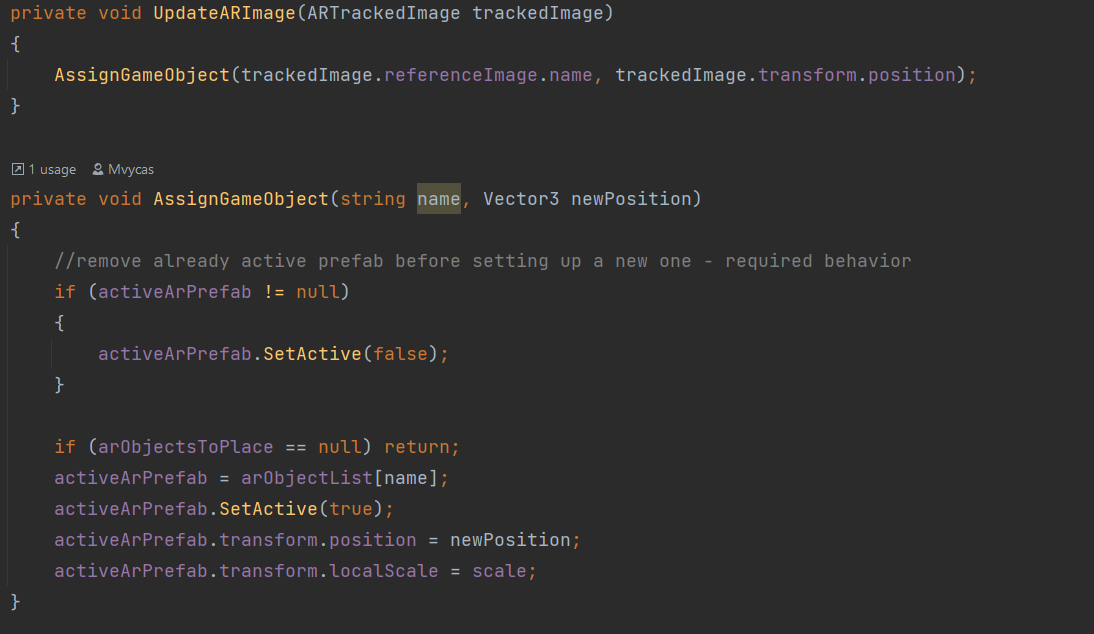
If (activeArPrefab != null) conditional makes sure that if there is already an active AR prefab (the object holds a reference) then it disables it. (See Image above) This ensures that only one prefab (3D object) is being displayed at the time. This was a sought-after behavior for our use case.
Finally, we make a new reference for activeArPrefab object by assigning it with the 3D object that has the same name as the tracked image arObjectList[name]. (See Image above) After that we activate the 3D object, so it makes it visible, and we position it according to the position of the trackedImage. Last “transform” for the scale does just scale our 3D object in the reference of the predefined xyz values.
Canvas [Adrian + Marian]
Adrian-Notes
I’ve start by creating a Canvas in a prefab: 
In side the cavans will be an empty GameObject to mark the word locaiton where the Canvas will be located inside the scene. Another child object will be a Text (TMP) that will be handle by a intection script.
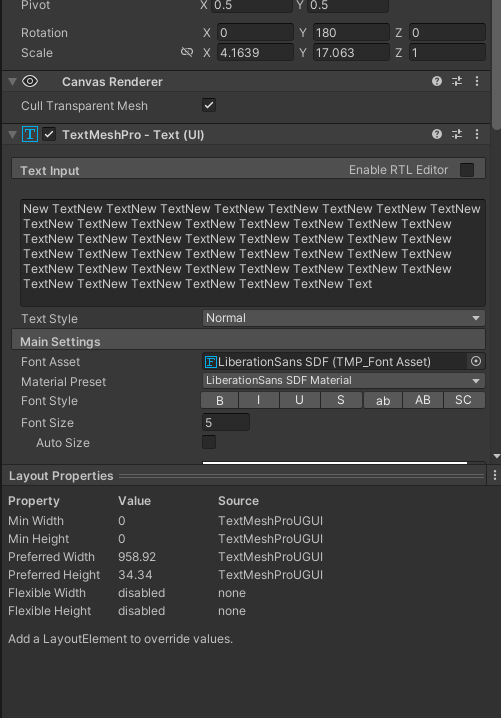

From there the prefab will be blase on the scene and the script will be populate with all the necessarry variables and objects references.

Animations [Adrian]
Because we require a modular approach to set up a certain posture for a single actor in the scene for the animation, I’ve built a script that uses an enum of animation-poses names to be much easier to deal with inside the editor.

And we can easily arrange a character to play a certain animation posture with this script.

And, in order to achieve and make the character perform the desired position, we will need an animator controller with all of the animations that will apply to all of the characters (with the same skeleton).

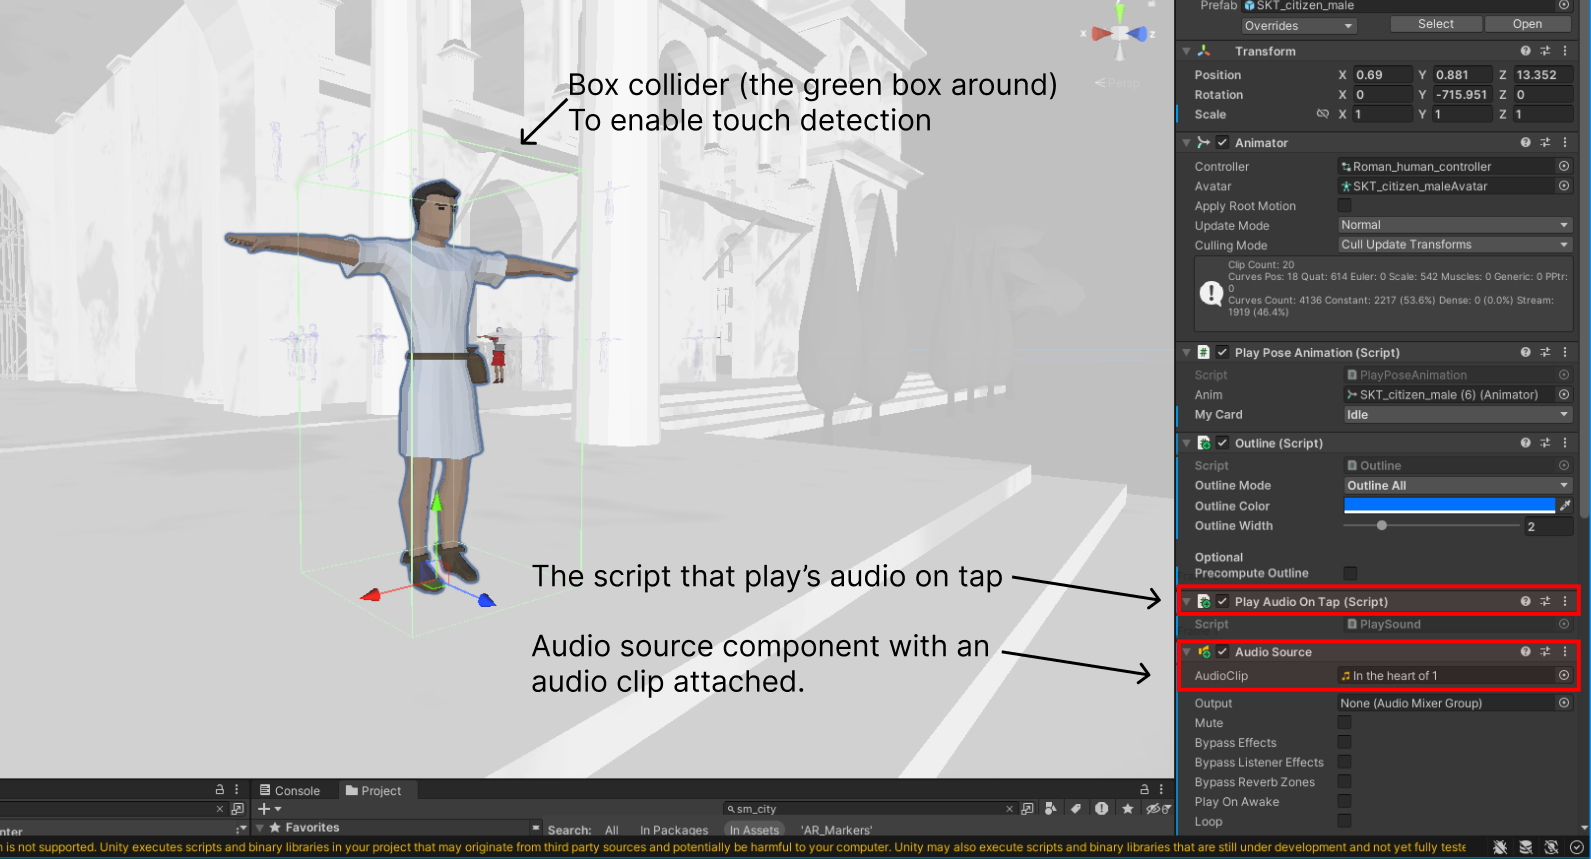
Sound interaction [Marty]
This Unity script, PlayAudioOnTap, is designed to play an audio clip when a specific object (to which this script is attached) is tapped on a touch screen device. Here’s a breakdown of how it works:
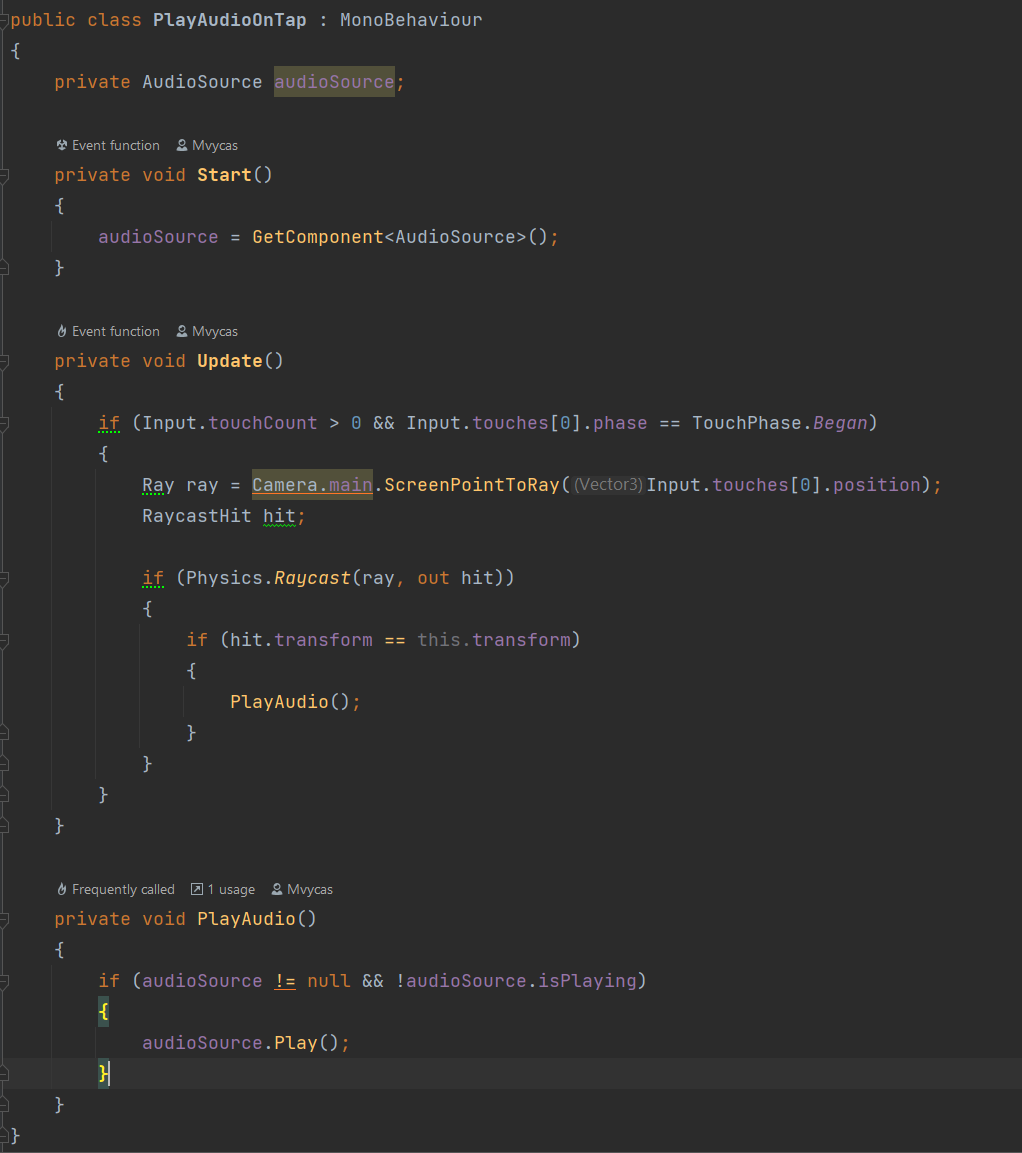
“AudioSource” is a Unity component that allows sound to be played in a 3D environment.
When the Start method is invoked, we initialize the audio source with an audio source component that is attached to the object that is using this script.
if (Input.touchCount > 0 && Input.touches[0].phase == TouchPhase.Began) This conditional statement checks if there is at least one touch on the screen
Ray ray = Camera.main.ScreenPointToRay(Input.touches[0].position) creates a ray from the camera position through the point on the screen where the touch was detected.
RaycastHit hit - to store information about what the ray hits.
if (Physics.Raycast(ray, out hit)) - The ray is sent into the scene and if it hits a collider (which is attached to the game object), the information is stored in hit.
if (hit.transform == this.transform) - This condition checks whether the ray hit the same GameObject that this script is attached to, and if it does - plays the sound. (If there is an AudioSource component and it isn’t already playing)
Below is a picture of how it appears in Unity editor, along with a description of each component: